Propr
A multipurpose laptop standing desk designed and built by Aubrey Kingston
Intro - This past fall, I spent my time in ME203: Design and Manufacturing, creating Propr. Propr is an aluminum laptop stand which combines a number of additional features. In addition to providing a comfortable elevated position for standing typing, Propr provides a position for your iPhone to charge comfortably next to your laptop. Cable management is dealt with via purposefully designed slots throughout the product. On the front, an inlaid cork board provides the perfect area for mounting notes or a 8.5 x 11 inch piece of paper. On the bottom, Propr rests comfortably on cork feet.
The following images and writeup detail Propr's design and creation.
Initial Prototype - Created out of three pieces of cheap 3/4th inch thick composite wood. Glued together with wood glue and then nailed together for extra rigidity. Key design investigations included getting the angles I wanted for each piece, filleting the edges, and rounding the corners through the connection of each piece. A third piece was added to the right hand side for the storage of a pair of headphones, one of the initial "extra" features I added to Propr over the course of this design.

Finished wood prototype

Stand with laptop for size

Upper piece, including the front stop to keep my laptop in place
Moving to Metal - In moving from a wood prototype for proof of shape into metal, I wanted to learn how to weld sheet metal in order to achieve the desirable geometry for my design. I purchased 0.100" thick 5052 Aluminum sheet to start practicing. Below are some of my welds.


Getting the Radius - my next big challenge was to get the radius I desired in the aluminum sheet metal. The initial plan was to use a 3/4" diameter rod and bend the aluminum around the shape using whatever form of leverage available to me in the PRL. Below is my first experiments with using finger break and a rod mounted in the apparatus.
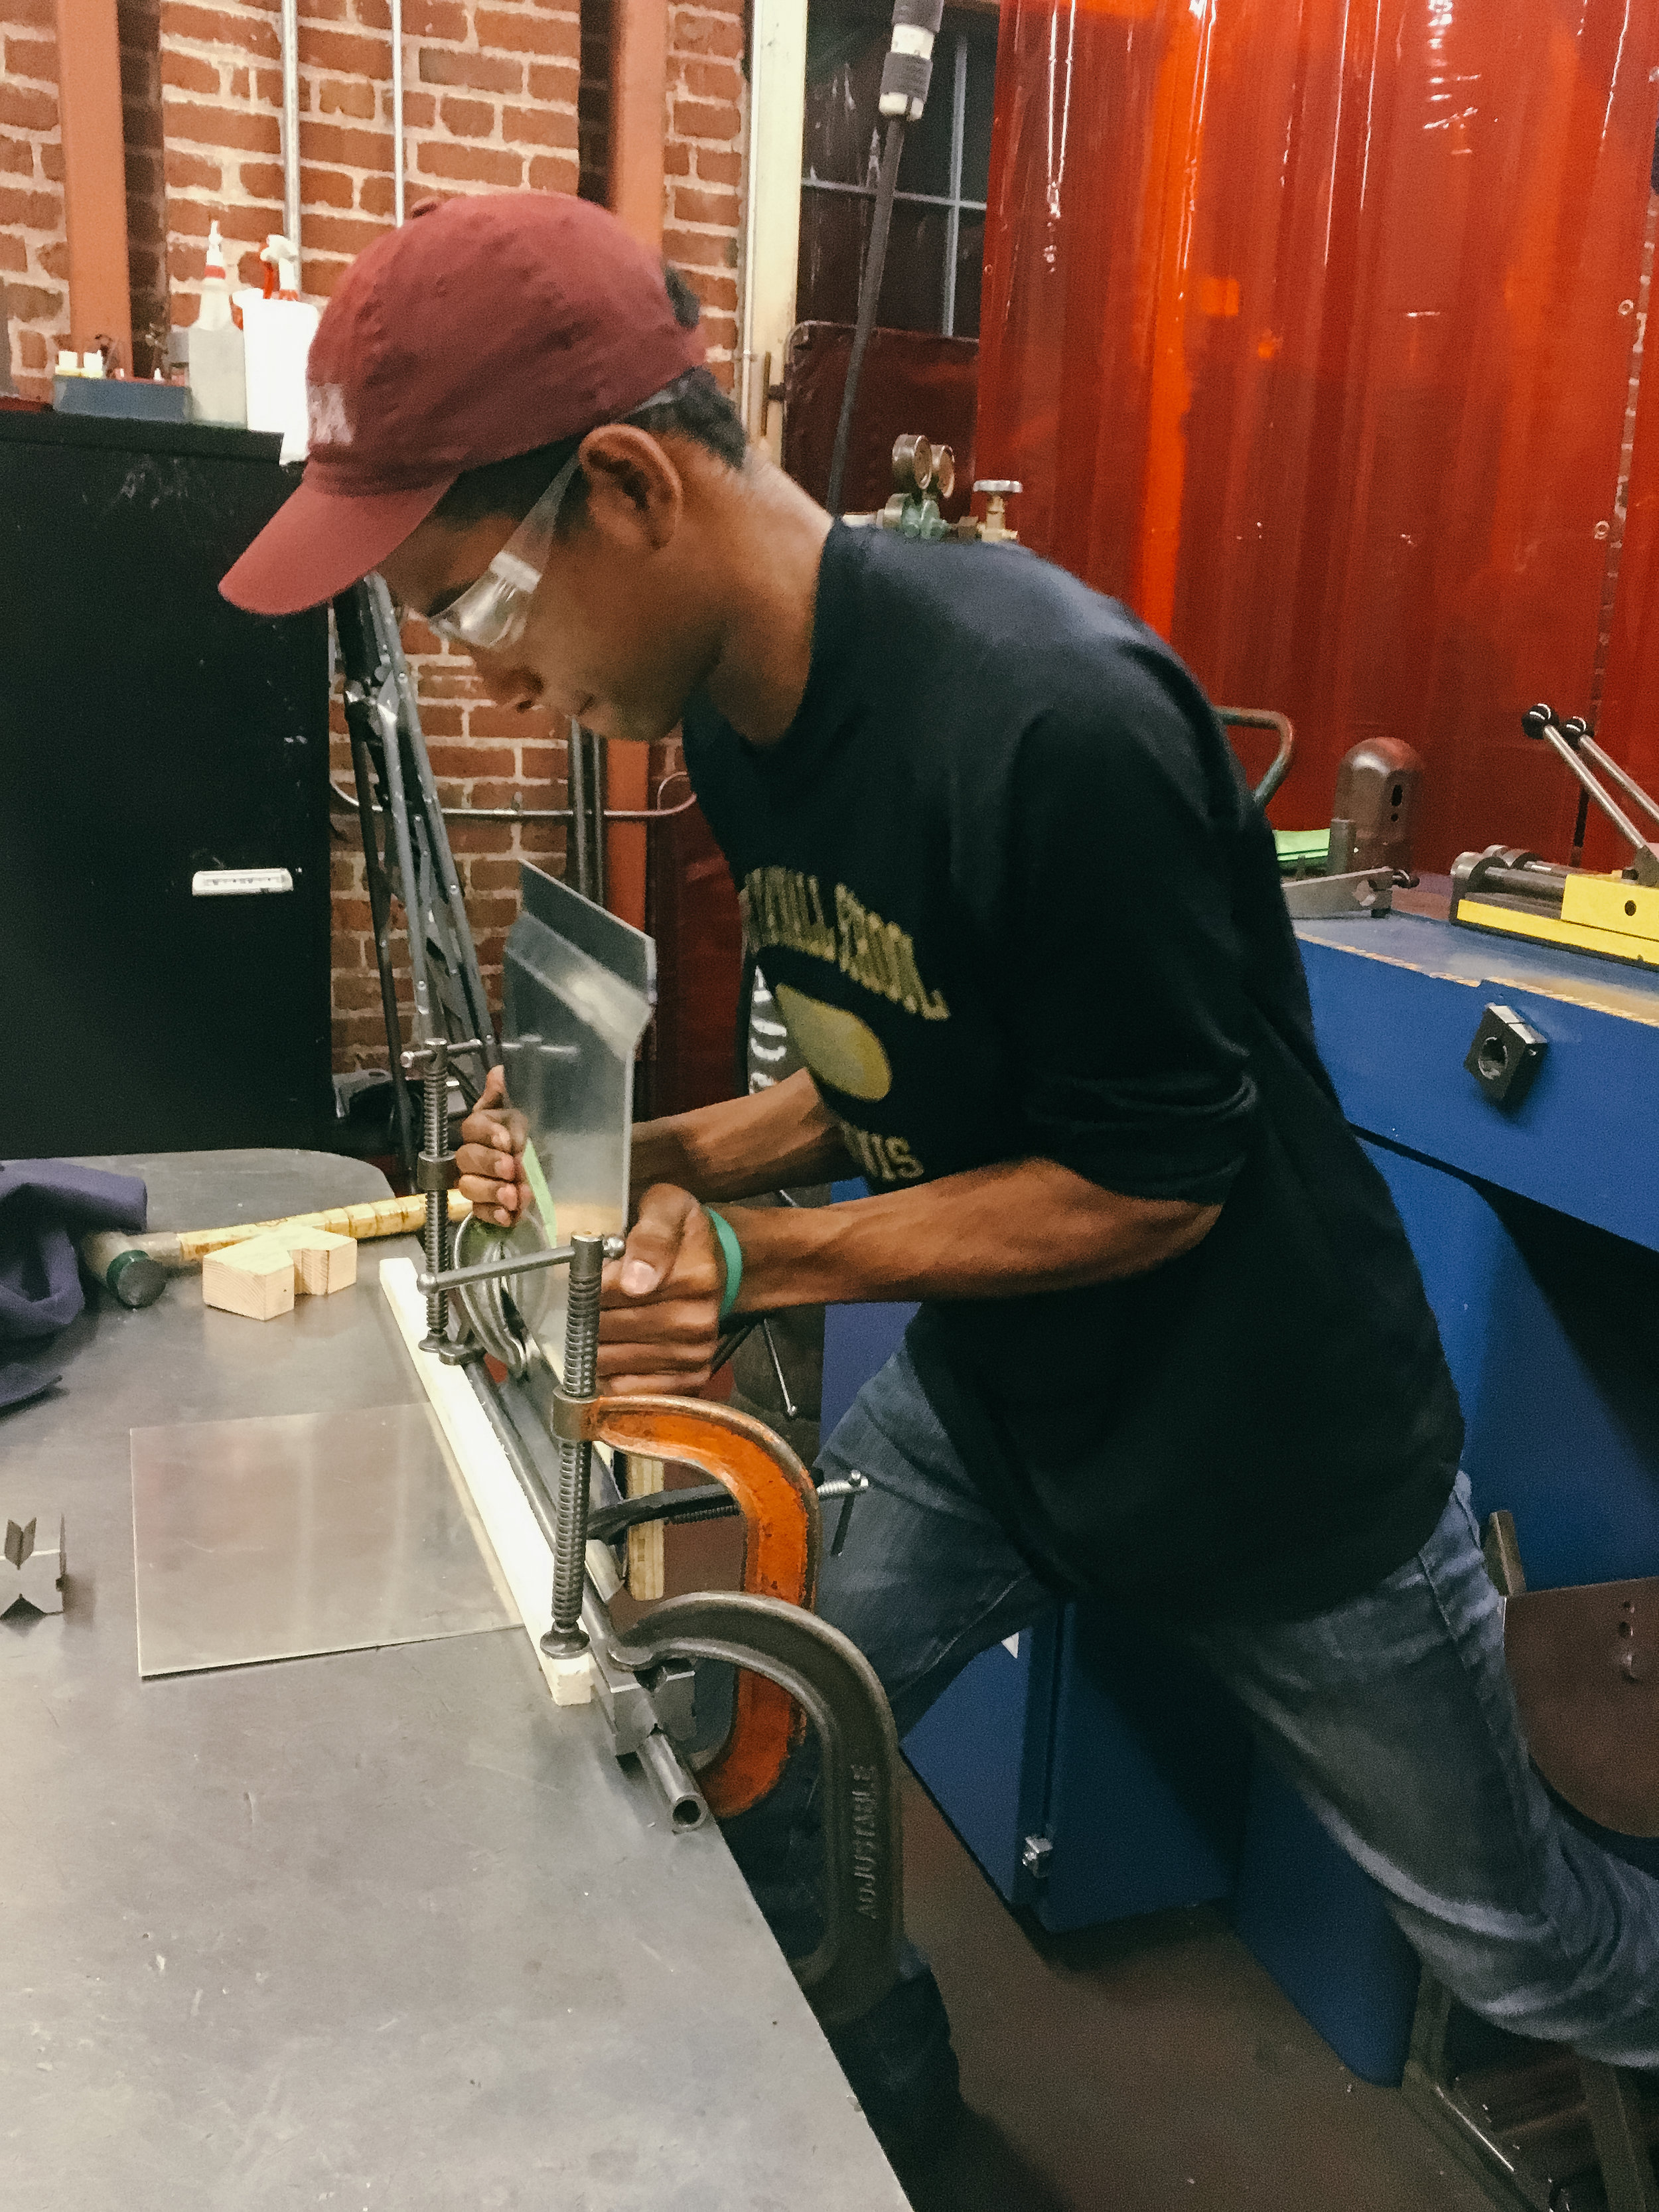

After getting the sheet metal out of the finger break, I had gotten the sheet metal to about 75º of bend. I needed to get it to approximately 135º. In order to do this I created a complicated mounting mechanism to then further bend. Using human force and then a lever arm, I was able to bend the radius to approximately 110º, but not quite enough. In addition to this, the radius of the bend was not consistent and very difficult to achieve. I would need to use a different method in order to achieve the radius I wanted.
A sample of some of my practice welds and practice bends using the finger break
Compound Bends - I figured that I could use the finger break, which achieves folds, to make a larger radius, by doing a series of small bends. I would bend approximately 20º, then move the piece forward and repeat. After doing approximately 15 bends, I would be able to achieve the 135º that I was looking for with a radius of approximately 0.375". Above are a smattering of some of these tests. It required a lot of precision to make sure these bends would be symmetrical and have a consistent bend radius
Final Manufacturing - Below is the final bottom piece. I used dy-chem to mark where bends would be located, then set about doing the precise bending on the finger break.


Final bottom piece after all bends have been put in.

Final bottom piece plus final upper piece mounted in the TIG welding area and tacked.

Final weld joining the two aluminum sheet metal pieces together. Note the overhang on the upper piece (right) allowing me to weld past the joint.
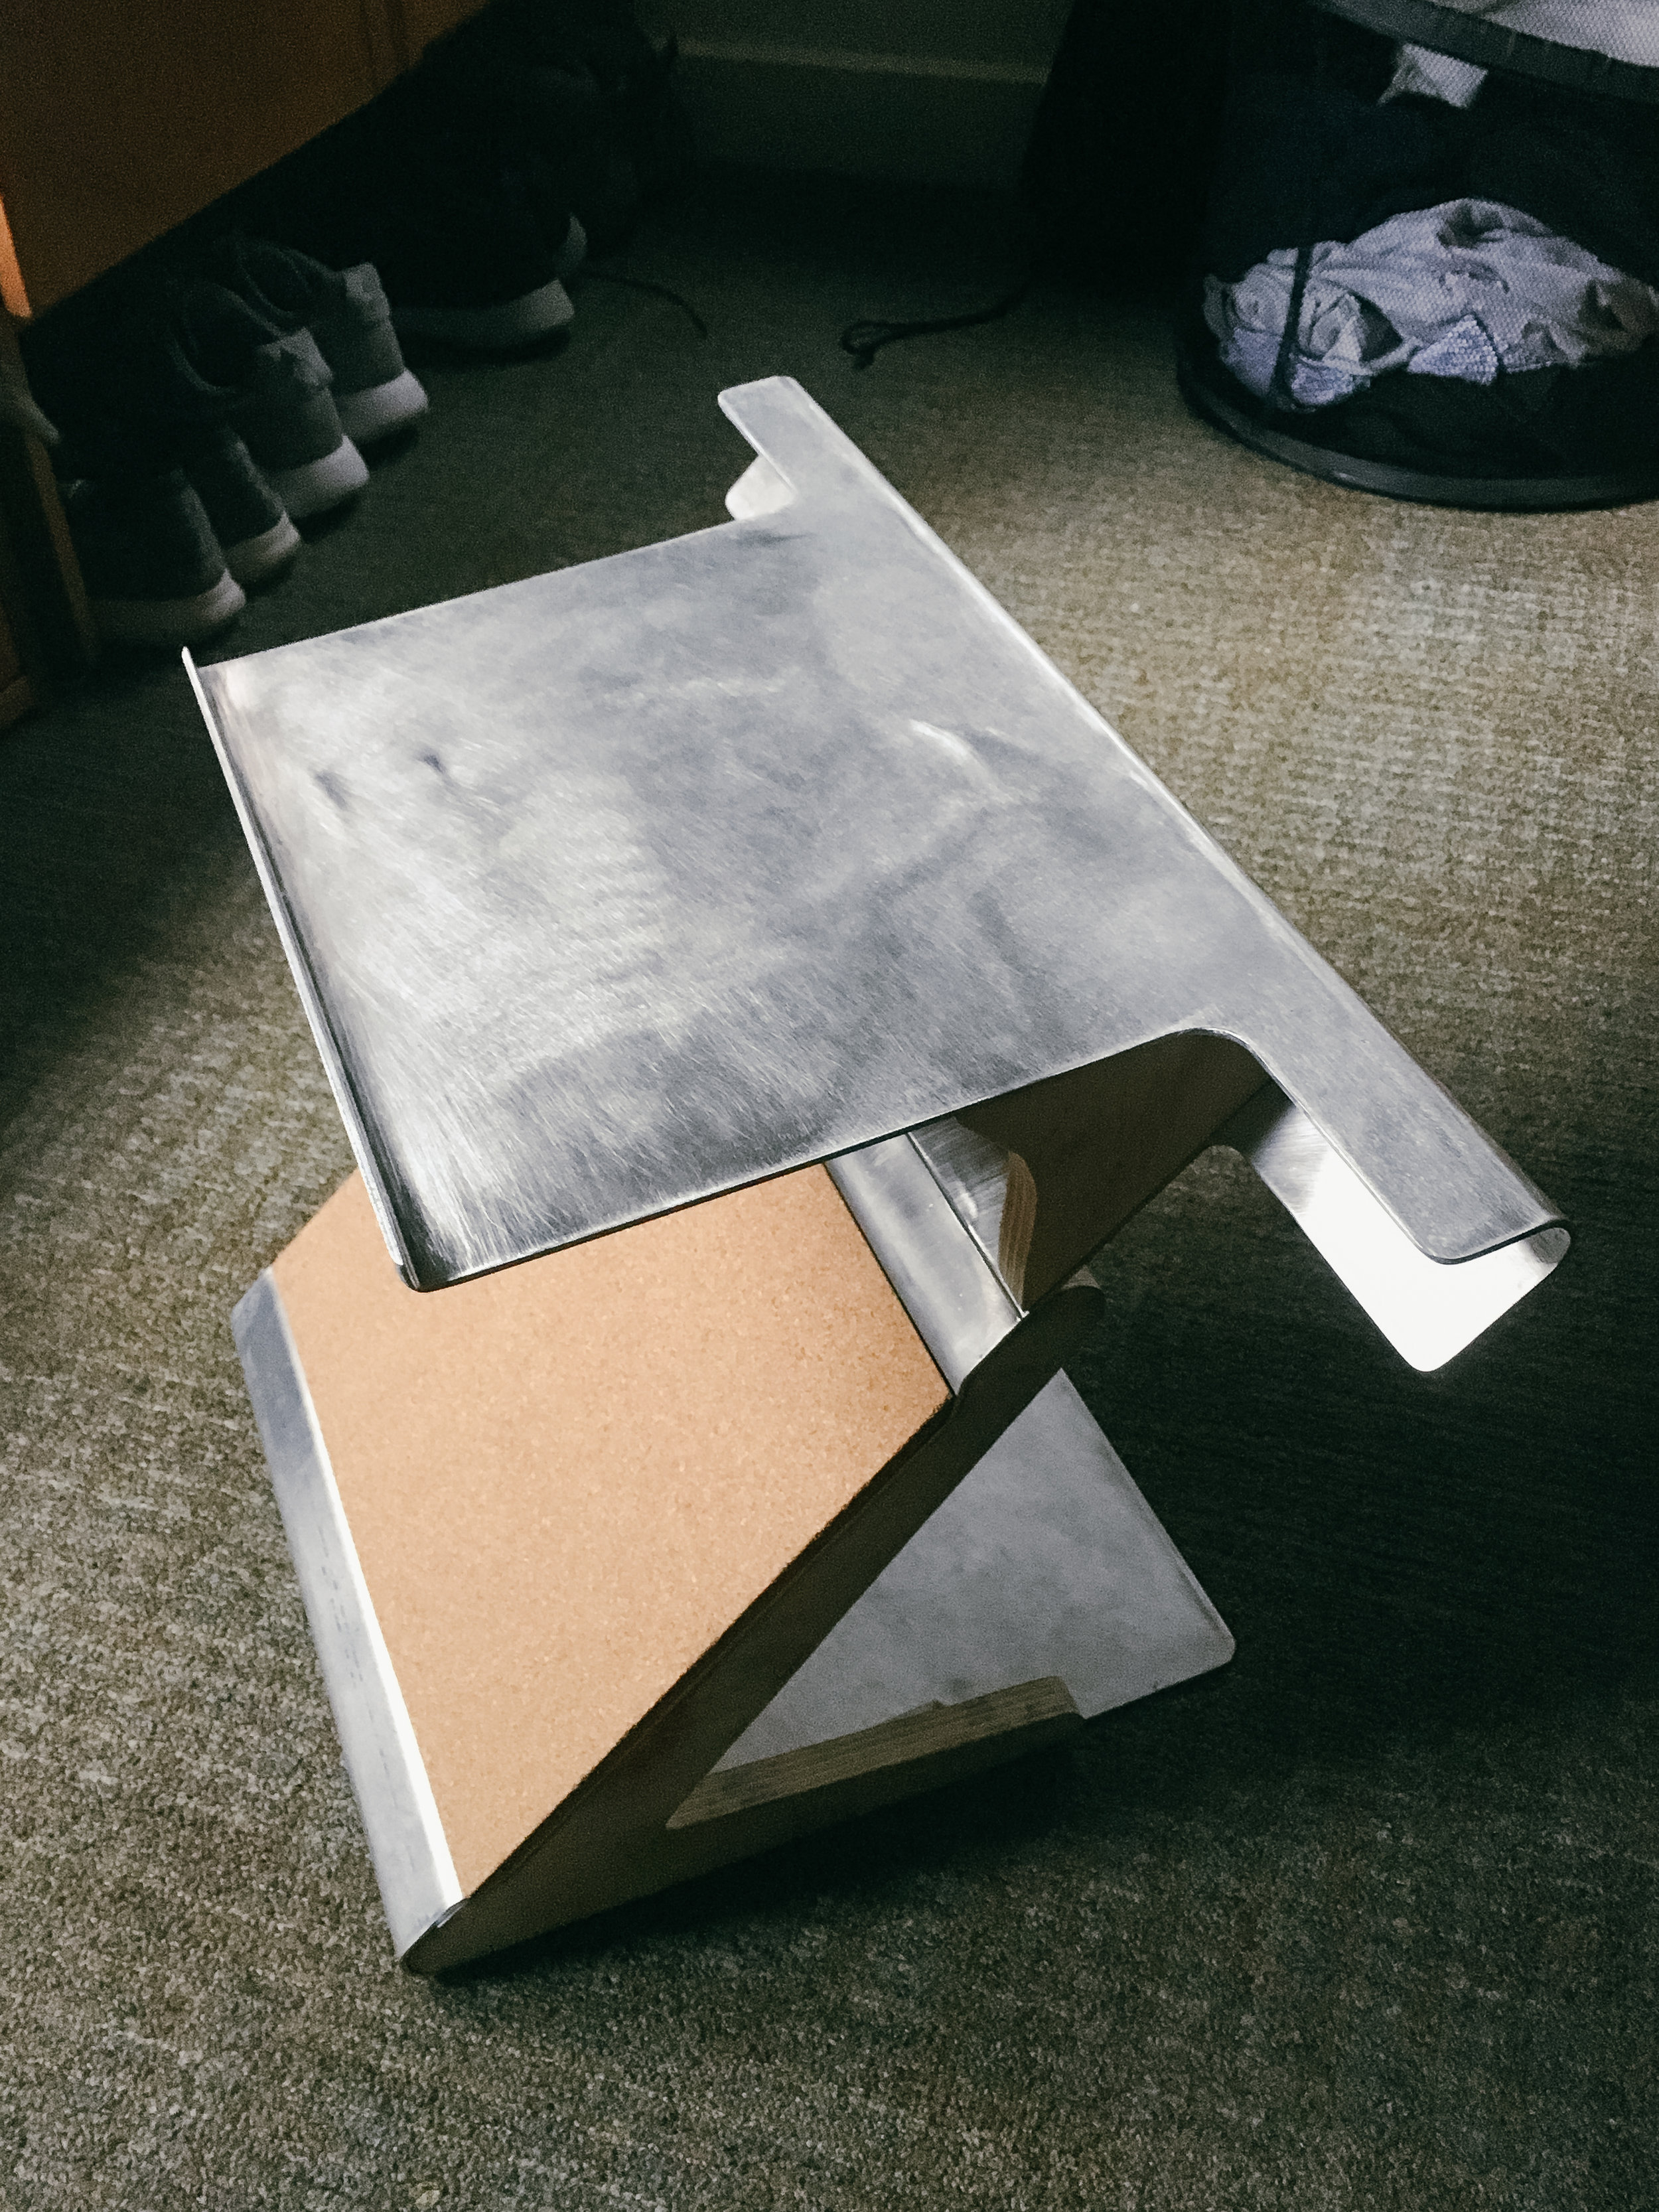
Test Assembly - I took my fully welded and filleted sheet metal piece and added in some wood pieces to prototype what I wanted to do for the backing. This would effectively add volume to my product and give it more stability. Cork was also added to the front to give yet another feature, a bulletin board. This assembly would give me an idea what shapes I would like for the wood and the overall aesthetic minus the final finishes and checks.


Pre-Powder Coating - this is the final bare sheet metal piece before it got sent off to get powder coated. Note the addition of the two holes for cable management on the top and on the vertical section. It was sanded down to 320 grit prior to being sent off and the fillets and edges were finely checked for symmetry and finish.
Back from Powder Coating - I decided to go for RAL9011 which is a Matte White finish. I think it gives the sheet metal part a clean and precise look. From now on I would just need to do final assembly, including adding in the wood and cork parts. I omitted the countersunk holes that would be required to mount the wood, so that needed to be done before moving on.
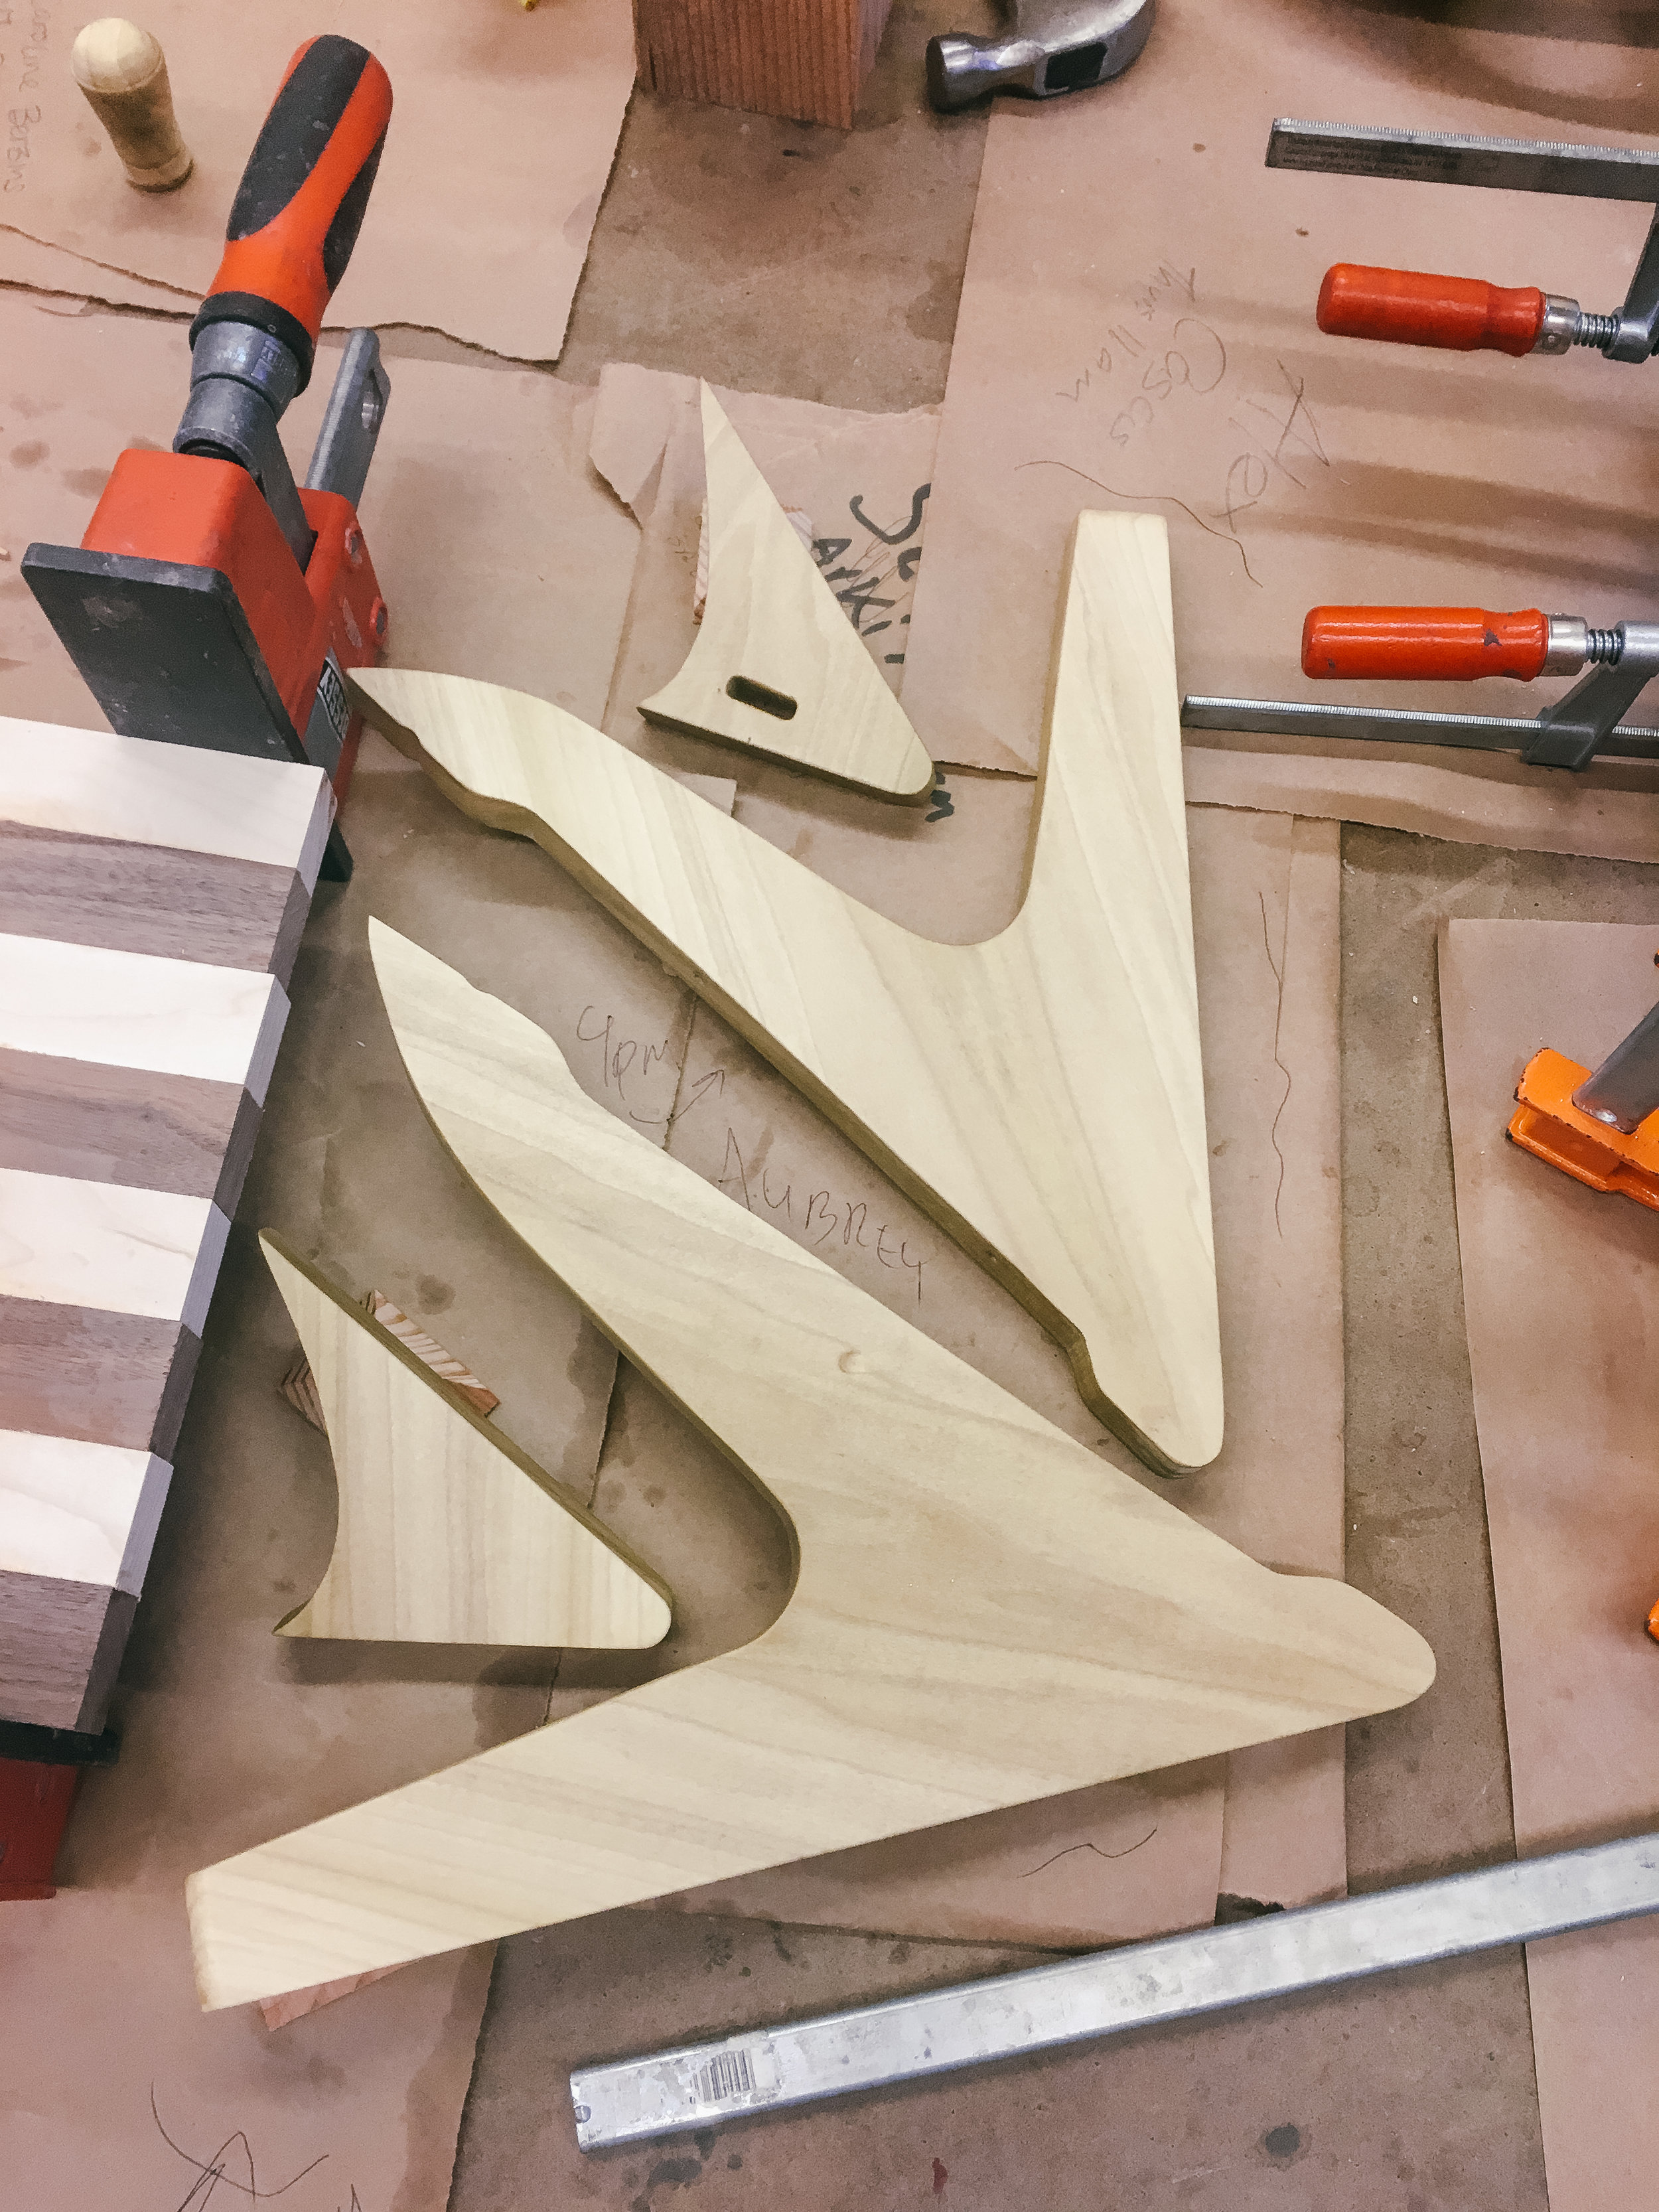
Wood Pieces & Finishing Touches - I used Poplar wood for the final wood pieces. I selected this wood for its light color and because of the availability of pieces of a large enough width and thickness for my project. In hindsight, I would use maple or perhaps a dark wood because after applying wood oil, it took on a yellowish finish that I was not entirely happy with. Overall the final shape of the wood was crafted to create one continuous line from the bottom to the top of my product.


VHB Gorilla Tape was used to fix the cork the front and cover over the countersunk skrews holding the wood pieces in place.

View under the cork before tape was applied
After tape was applied

Cork feet covered the skrews on the bottom and provide a secure footing to prevent scraching of the white powder coat.

The Propr logo, Drawn by Aubrey Kingston, Brought to life by Winston Liao
Finished Product Shots - hero shots of my finished product

CAD Renders
Designed and Rendered in Photoview for Solidworks 2017